Poor Wi‑Fi Coverage? How to Find the Cause Step by Step

Poor Wi‑Fi Coverage? How to Find the Cause Step by Step
Few things are more frustrating than a weak or unstable Wi‑Fi signal. You’re in the middle of a video call, and the connection drops. Or you’re trying to stream a movie, but it keeps buffering. Poor Wi‑Fi coverage can have many causes—from router placement to interference from other devices. Here’s a step‑by‑step guide to help you identify the problem and improve your home network.
Step 1: Test Where the Problem Occurs
Start by figuring out whether the issue is local or widespread. Use your phone or laptop to test your internet speed in different parts of your home—right next to the router, in the living room, in your home office, and in the bedroom. You can use free online speed tests to measure both download and upload speeds.
- Good speed near the router but poor farther away? That points to a coverage issue.
- Slow speed everywhere? The problem may lie with your internet provider or the router itself.
Write down your results. This will give you a clear picture of where the signal drops off.
Step 2: Check the Router’s Placement
Router placement has a huge impact on signal strength. Many people hide their router behind the TV, in a cabinet, or in a corner—but that’s rarely ideal.
- Place the router centrally in your home, ideally at eye level and away from obstructions.
- Avoid metal and concrete, which can block or weaken the signal.
- Keep it away from electronics like microwaves, cordless phones, and baby monitors that can cause interference.
Sometimes, simply moving the router to a better spot can make a big difference.
Step 3: See if the Router Is Outdated
Technology moves fast, and a router that’s five or six years old may struggle to keep up with modern devices. Older models might only support the 2.4 GHz band, which is slower and more crowded than 5 GHz.
Check your router’s model number and look it up online to see which standards it supports. If it doesn’t handle Wi‑Fi 5 (802.11ac) or Wi‑Fi 6 (802.11ax), it’s probably time for an upgrade. A newer router can deliver faster speeds and better range.
Step 4: Change the Channel or Frequency Band
Wi‑Fi signals travel on specific channels, and if many neighbors are using the same one, it can cause congestion—especially in apartment buildings.
Most routers automatically select a channel, but you can often get better results by changing it manually in the router’s settings. Use an app like WiFi Analyzer or NetSpot to see which channels are least crowded.
Also consider switching to the 5 GHz band if your devices support it. It offers faster speeds and less interference, though with slightly shorter range.
Læs også:

Step 5: Update the Router’s Firmware
Routers run on firmware that manufacturers update periodically to improve performance and security. Many people forget to install these updates, but they can fix stability and speed issues.
Log in to your router’s admin page (the address is usually printed on the bottom of the device) and check for available updates. Follow the manufacturer’s instructions carefully when installing new firmware.
Step 6: Consider Additional Equipment
If you live in a large home or have many walls between your router and your devices, you may need extra help distributing the signal.
- Wi‑Fi extenders (repeaters) rebroadcast the signal to cover dead zones.
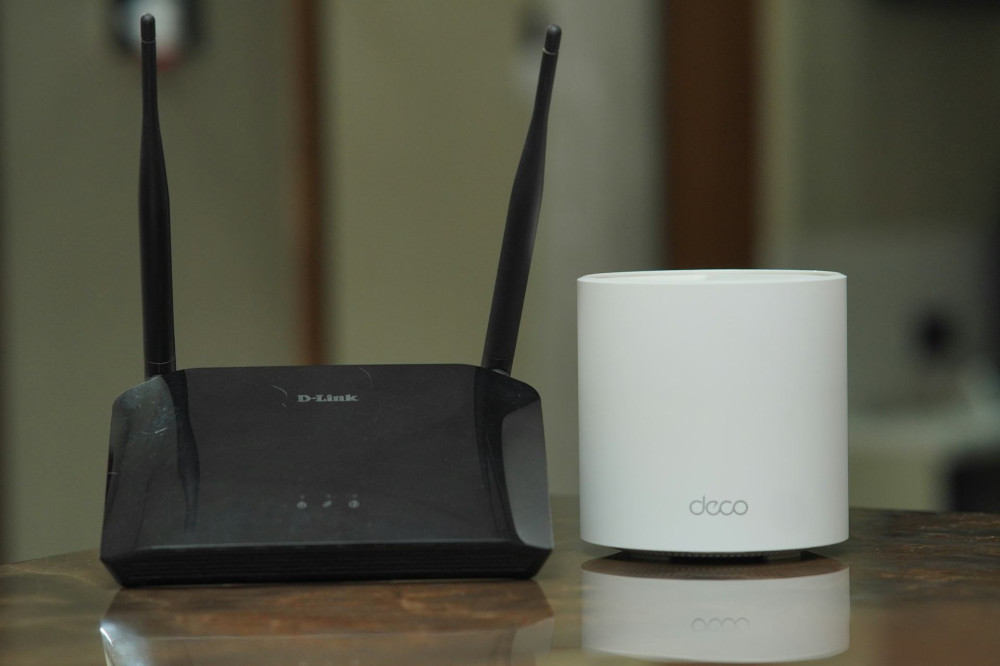
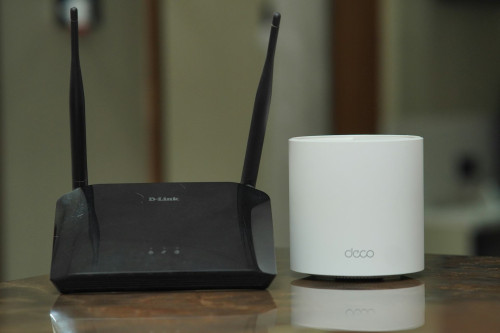
- Mesh systems use multiple units that work together as one network, providing seamless coverage throughout your home—ideal for larger spaces.
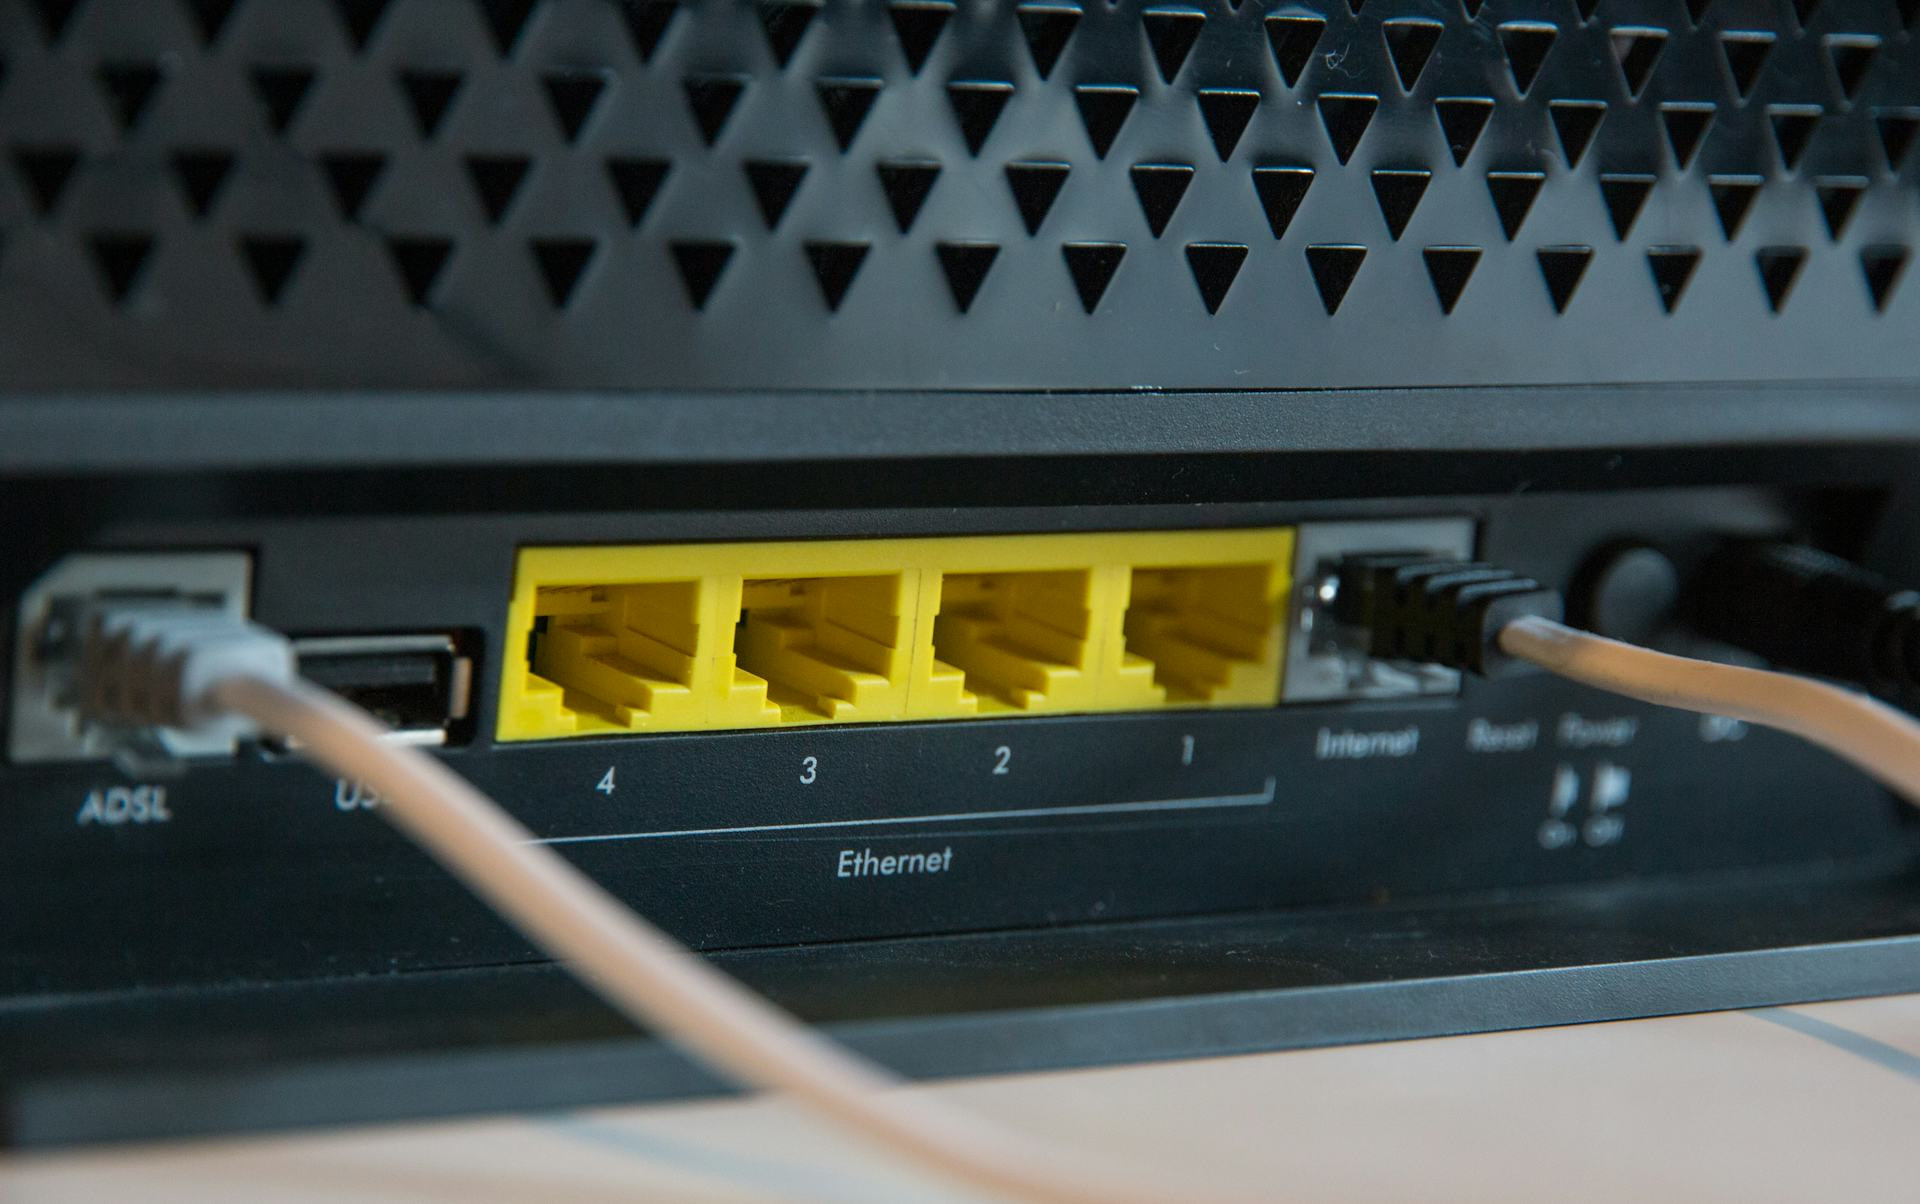
- Wired connections (Ethernet) remain the most stable option for desktop computers, gaming consoles, or streaming devices.
Choose the solution that best fits your home layout and budget.
Step 7: Check Your Internet Provider’s Connection
If you’ve tried everything above and still have poor performance, the issue might be outside your home. Check if your internet service provider (ISP) is experiencing outages in your area. You can also connect a computer directly to the router with an Ethernet cable—if the speed is still low, the problem likely lies with your ISP.
Contact customer support and explain what you’ve already tested. That will help them diagnose the issue more quickly.
Step 8: Make Network Maintenance a Habit
A stable Wi‑Fi network needs a little ongoing care. Restart your router occasionally, keep firmware up to date, and change your Wi‑Fi password regularly to prevent unauthorized access.
If you live in a densely populated area with many wireless networks, it’s also smart to repeat your speed tests a few times a year. That way, you’ll notice early if your signal starts to weaken again.
A Strong Network Starts with the Basics
Poor Wi‑Fi coverage doesn’t have to be a mystery. By systematically following these steps, you can identify the cause and often fix it yourself. It’s all about understanding how the signal moves and how you can help it along. With the right placement, updated equipment, and a bit of patience, you can enjoy a stable connection—and say goodbye to the frustration of slow internet.
Læs også: